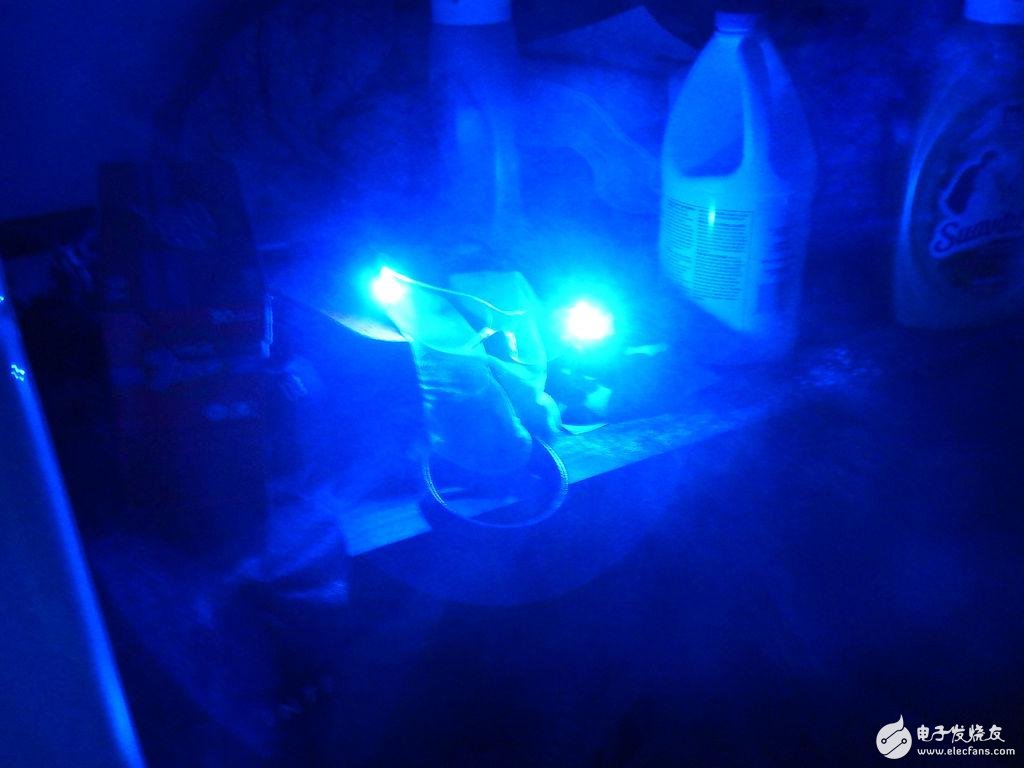
Introduction:
This project is great as long as you need light, but your hands will be very busy. When there is no electricity, a simple and practical DIY project can give you light, and it is also very interesting to work in a small space in your car.
Step 1: What do you need?
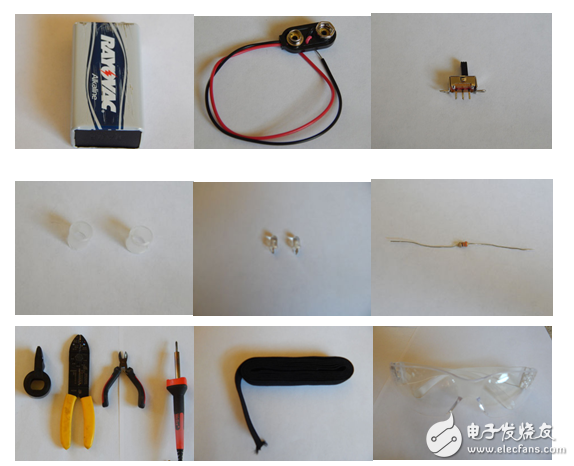
supply:
1 9 v battery
1 9 v battery connector
1 mini 3-pin slide switch
1 resistor (must use a resistor compatible with your LED, I am using a 330 ohm resistor)
1 pair of glasses (I use safety glasses)
2 LED lights (trying to find a brighter color, I use blue for fun)
2 plastic tubes (they will surround the LED lights, so make sure the correct size)
Some wires (I use 16 specifications but anything can achieve the above is good)
Some elastic bands (foot should be good)
The required parts of the circuit can be found at the radio equipment company or you can place an order at Amazon. Safety glasses can be found at the hardware store. Elastic bands can be found at the fabric store.
tool:
iron
Strippers and knives
Super glue
Electrical tape
(Not a little needed but very useful).
Step 2: Circuit

This circuit is very simple. It is basically a slide switch that controls two LED lights, using some safety glasses and elastic bands. If you look at the picture of this step, you will be presented with a simple schematic. I will divide the circuit into 3 chapters, LED1, LED2 and switch.
This article is selected from the "Automotive Electronics Special", more quality content, download now 
Step 3: Circuit: LED 1
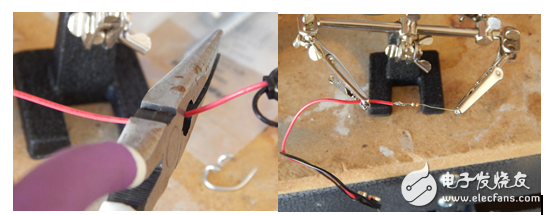
a)
First you have to cut your 9 v positive terminal connector so that you don't have too many wires to make the glass look awkward. Then solder the resistor to the positive terminal connector of the 9 v battery.
Note: Be sure to twist all the wires together, which will make the welding easier.
b)
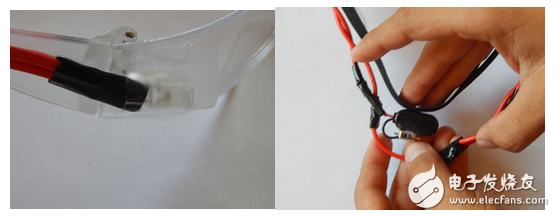
After completing step (a) LED1, you should wire the wire to the resistor. Make sure the wire reaches the end of the glass (like Figure 3). Now you have to wire the positive terminal 1 on the main resistor.
Note: Remember which side is positive and negative before cutting the terminal.
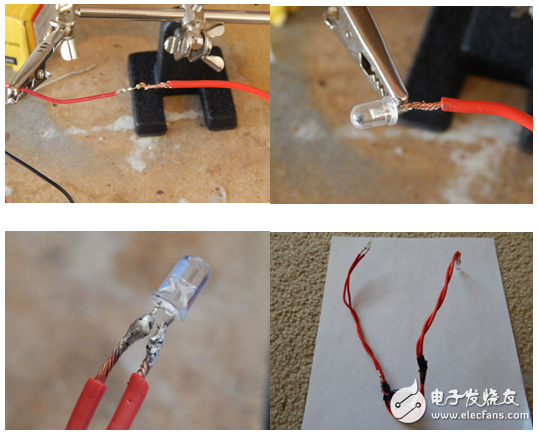
C)
Now we are at step (c) of LED1. In this step you will get another line to solder to the negative terminal of LED1.
Note: The wire must be long enough to reach the positive terminal of LED2.
Step 4: Circuit: LED2
This part of the tutorial is quite short, the switch in the loop circuit: step LED2
a) Once all of step 3 has been completed, you must obtain the wire you soldered to the negative side of LED 1 and solder it to the positive end of LED2.
Note: Again, the wires from LED1 to LED2 must be long enough to wrap around the back of the head (adjust the glasses if necessary).
Step 5: Switch
Now we will add switches to the circuit.
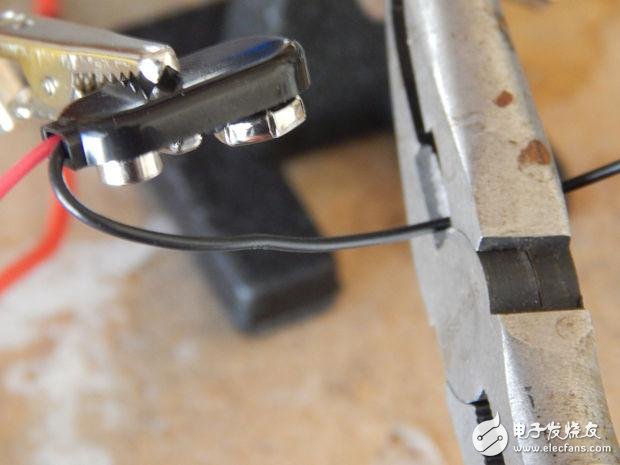
a) First you must cut the 9 v negative terminal connector. Next, the 9 V negative terminal connector will be soldered to the left end slide switch.
Note: Make sure you are soldering the slide switch to the left side of the negative terminal.
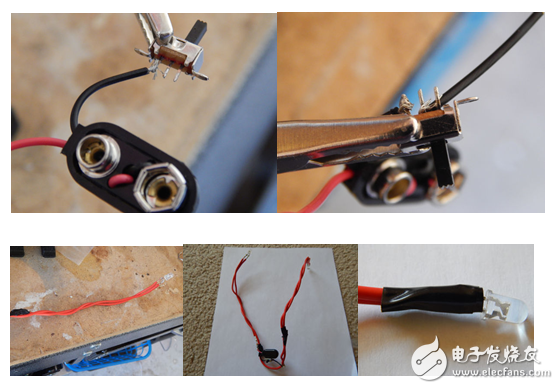
b) After the wire is connected to the slide switch of the middle pin (see Figure 3), the negative terminal of the slice used is easy to solder to the small pin due to the small wire.
Note: Make sure the wires just touch your own pins and the light will continue.
c) Next, you will run and wire the slide switch from the middle pin to the negative terminal of LED2. Make sure the wires reach the end of the glasses.
Note: Before you complete the circuit, you may have to screw the wires together so they won't get everywhere.
d) Now you can cover the line shown on the circuit with electrical tape.
Step 6: Glasses
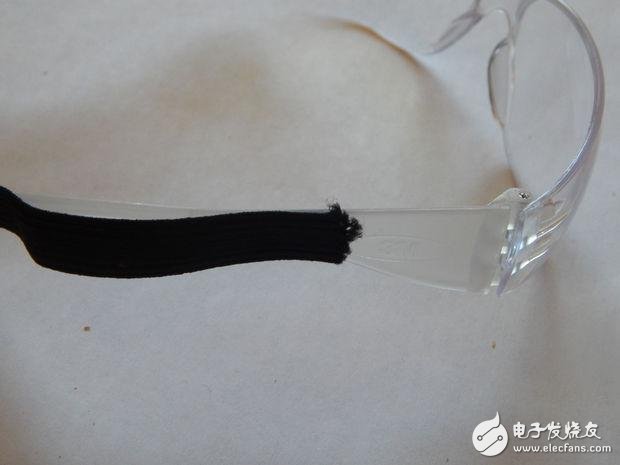
It's time to add flexibility to safety glasses.
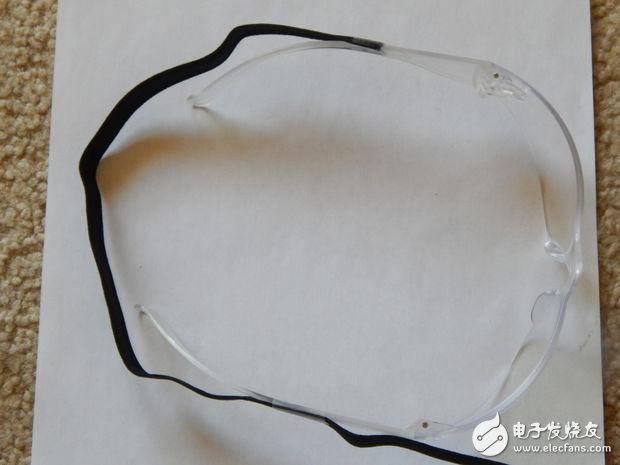
a) First, you should tape the elastic band to the middle of one side of the glasses, and then place the other end of the elastic band in the same place as the glasses, but the opposite side. Make sure you use the tape first so you can resize it on your head. It should be tight but also comfortable.
Note: Do not cut elastic fabrics if you are not sure that it will fit comfortably and easily on your head.
b) Now you can cut off the elastic band and use the super glue to stick the elastic band on the glasses.
Note: Make sure your stickers and glue are in the same place.
Step 7: Combine the two together!
Now we add the circuit to the glasses.
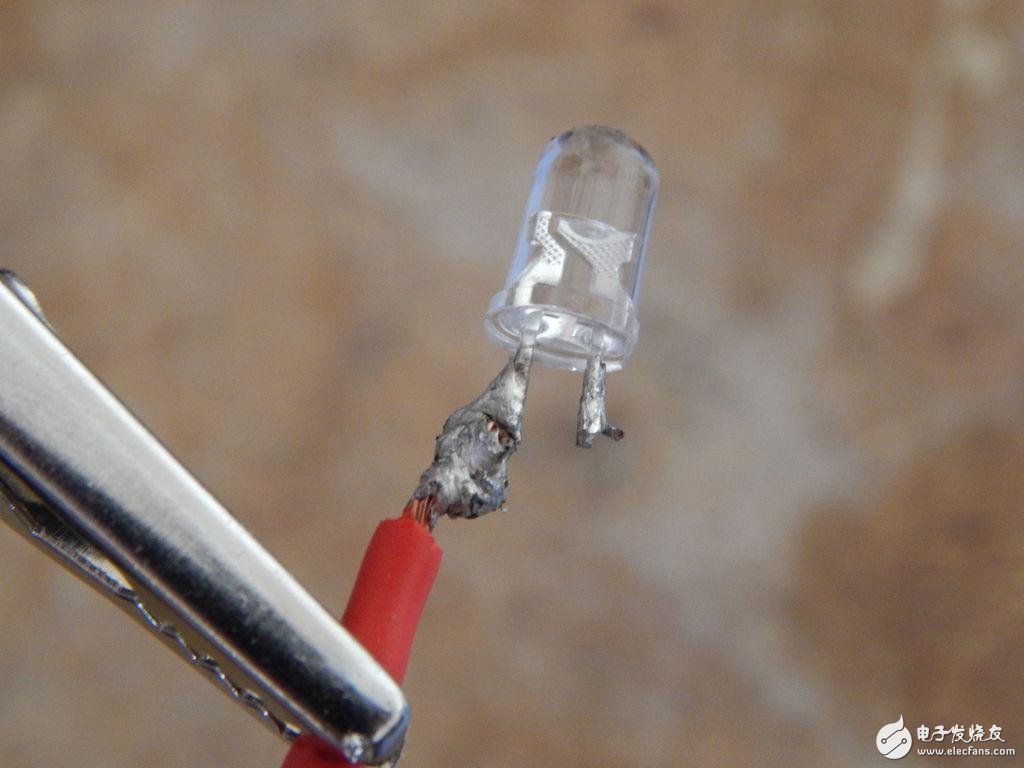
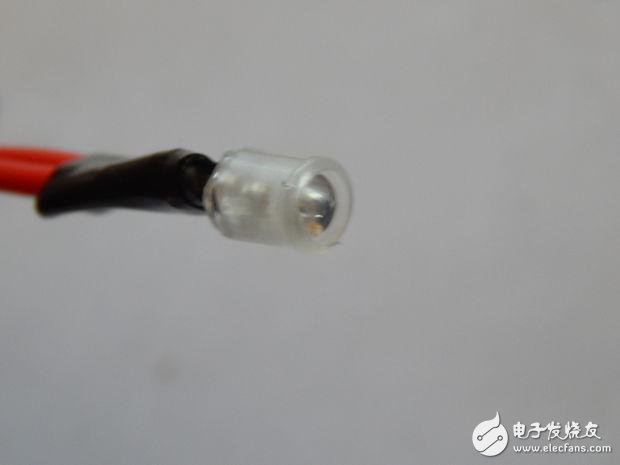
a) Now you will use small plastic tubes and place them around the LED lights. After the completion, glue the glue to the tube, glue the LED on the glasses with super glue, and press the tube and the glasses together.
b) Now you glue the 9v battery connector to the elastic band on the back of the glasses with super glue.
Step 8: You are done!
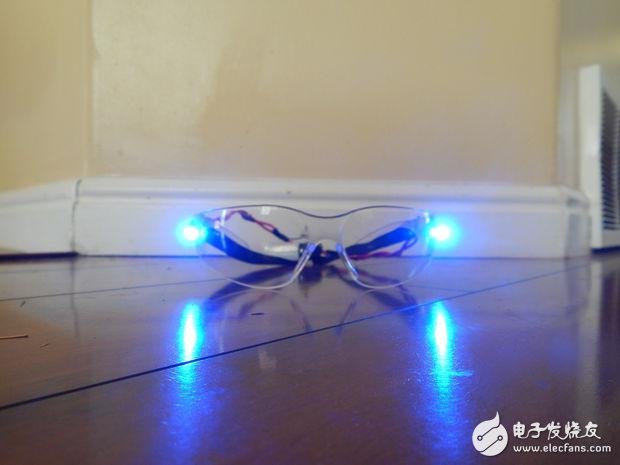
You have completed this project.
Now you can use it around the house, outside or in the workplace. I hope you like this project. This is the first tutorial I made, please comment, I will be very happy to hear your thoughts.
GFCI, or Residual Current Device (RCD) is a device that shuts off an electric power circuit when it detects that current is flowing along an unintended path, such as through water or a person.
It is used to reduce the risk of electric shock, which can cause the heart to stop or cause burns. They can also prevent some fires, like when a live wire touches a metal conduit.
Waterproof Cover UL,Wholesale Waterproof Cover UL,Color Waterproof Cover UL,Cheap Waterproof Cover UL
Hoojet Electric Appliance Co.,Ltd , https://www.hoojetgfci.com