The upgrade of SSDs was originally very simple, but for various reasons, the final result was not perfect. It was written here to remind everyone.
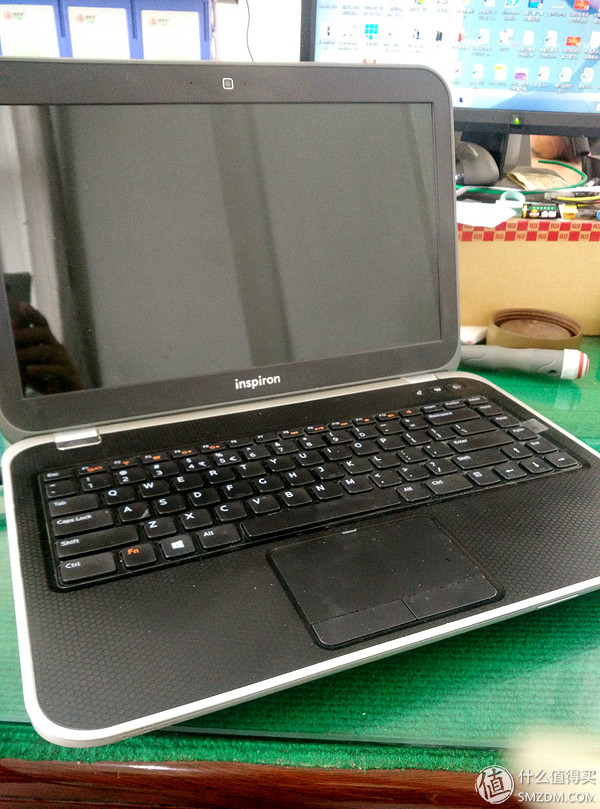
The upgraded notebook is a friend of the children's Dell Inspiron Ling Yue 14R (7420) I got the book to know the specific model, in order to catch fake time, and does not delay the game time, with this mistake online shopping and post-modern transformation the process of.
So remember:
If you want to install the SSD in the drive, be sure to copy the entire model or simply remove the drive to remove the size and then buy the drive bracket, otherwise it will be very cumbersome and imperfect.
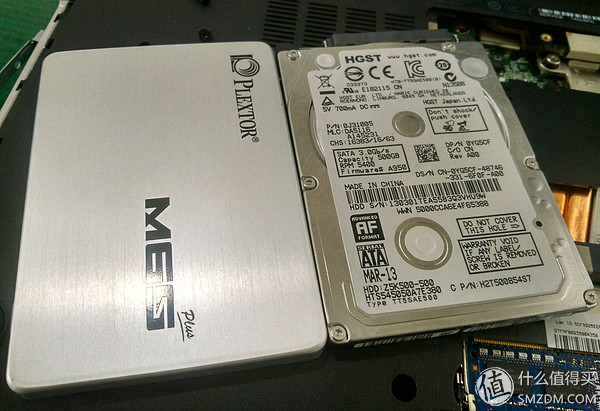
The SSD was Plextor’s M6S, and my friends bought it one month before the children returned on vacation.
Of course, the CD bracket is the richest man! Because only the notebook's general model "Dell DELL Inspiron Ling Yue 14R" can only be searched by this keyword, and then there will be an imperfect upgrade.
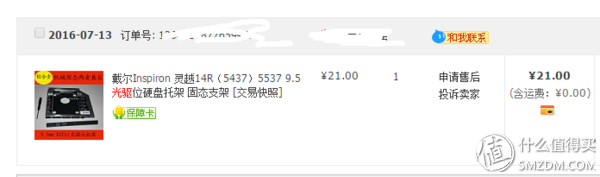
Because there is no scientific and technological content, so directly choose the most cost-effective, this is the tragedy of the pig! The previous names are the same, but in the end the parentheses have different numbers and the drive thickness is not the same!
After the notebook is brought, all the accessories are also complete, that is disassemble, updated!
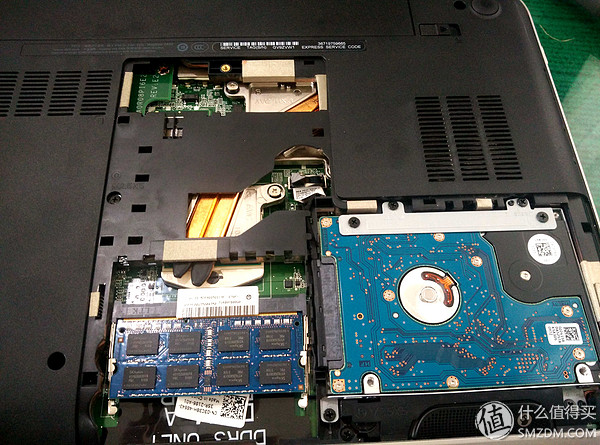
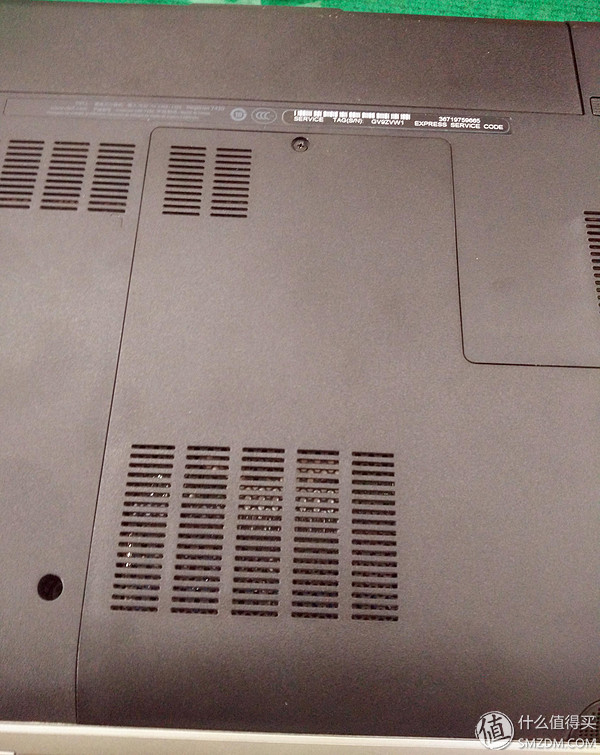
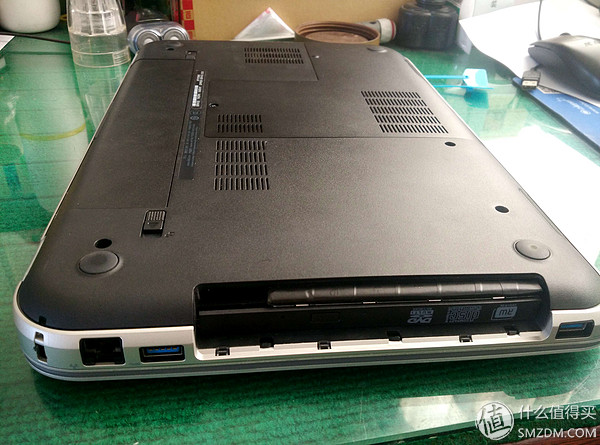
The Dell Inspiron 14R (7420) is very convenient to update. There is only one screw behind it and you can add memory or replace the hard disk after unpacking.
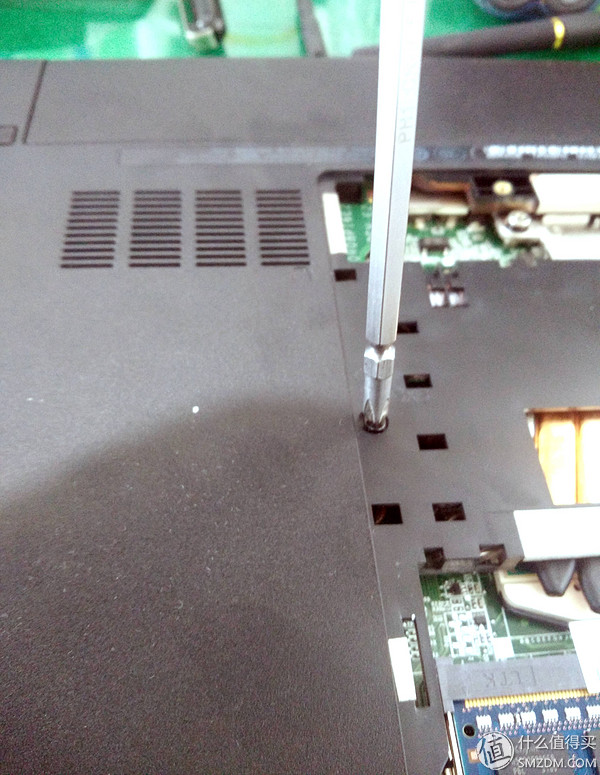
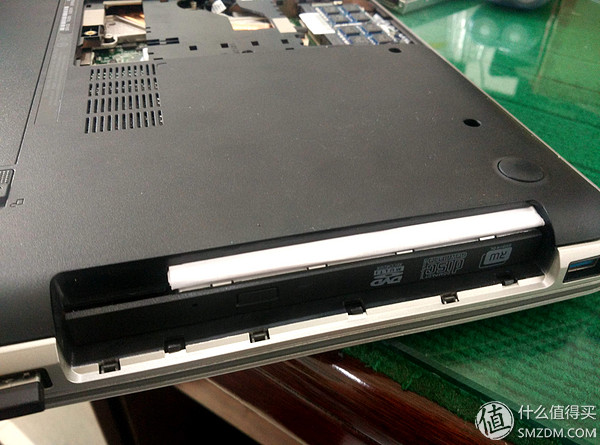
Here is the fixing screw of the optical drive. After it is opened, the optical drive can be taken out!
It is easy to pull out the optical drive

Looking for a root pin, you can remove the panel without the optical drive!
The panel is stuck on the optical drive tray

Remove the panel!
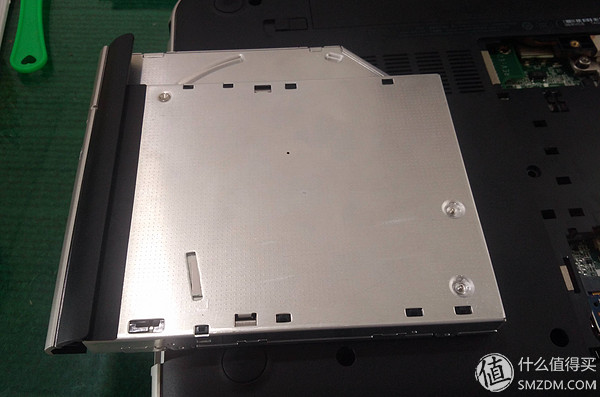
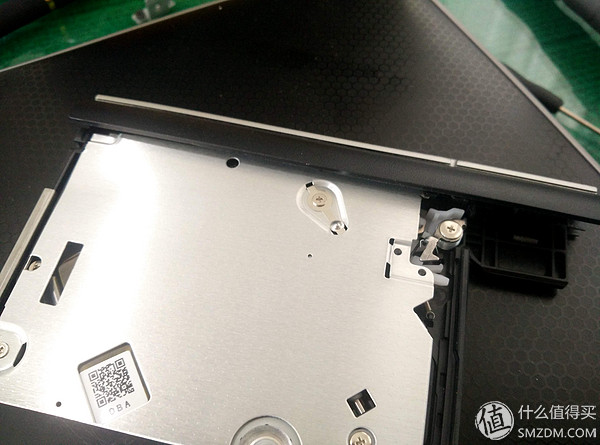
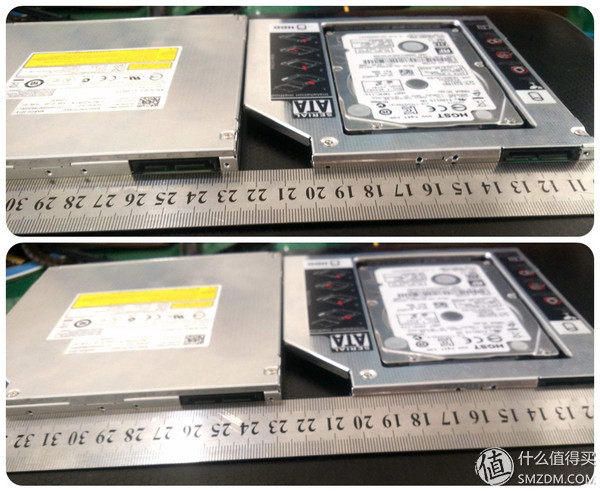
Then discovered the tragedy... The size of the optical drive bracket and optical drive looks like the same!

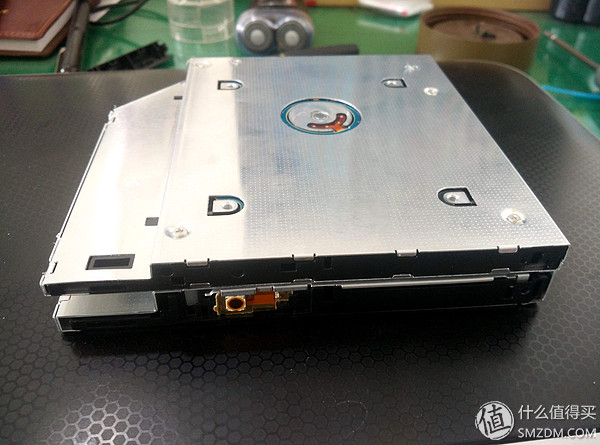
But when it's level, it's a problem...
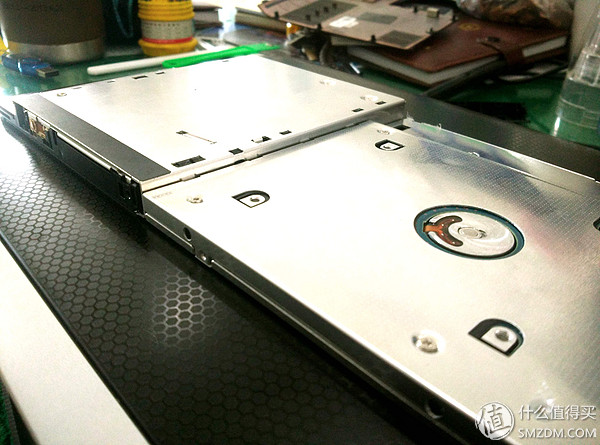
A big difference!
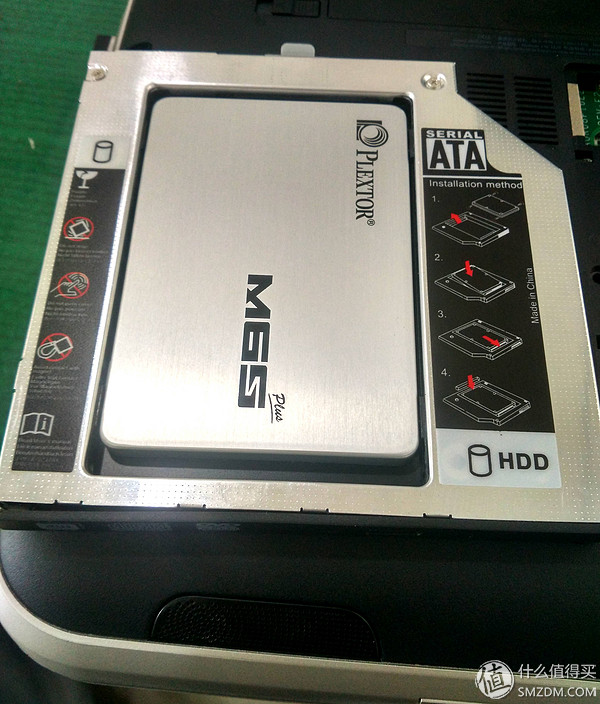
Return to shoot and still have a long time! Friends and children are rushing. (Updated SSD has delayed the game time of the day.) Try it on the hard disk first! Pu Kete fits in very well.
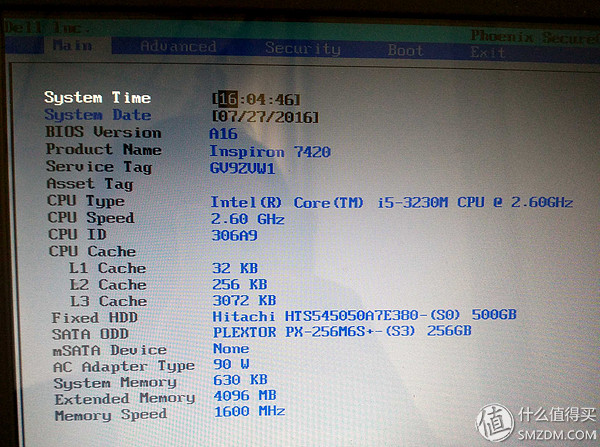
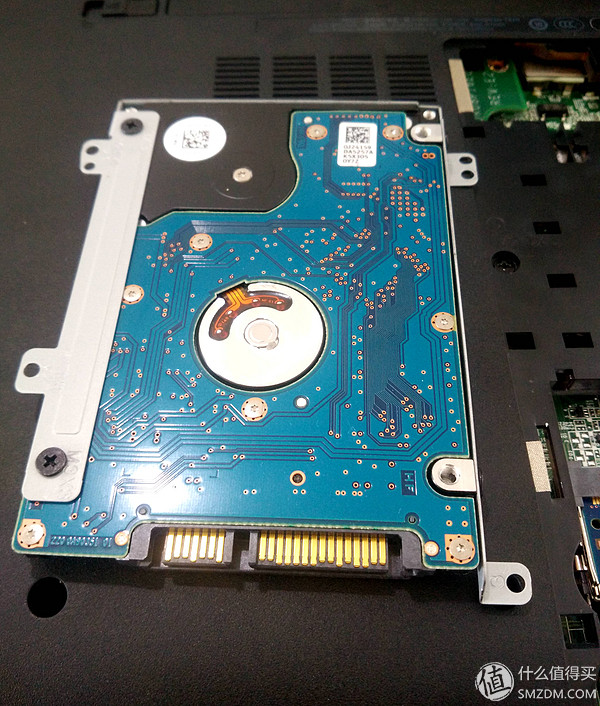
It is hard to plug in, boot, but also identified! However, this BIOS is very strange, the hard disk in the machine is Hitachi's nominal FIXED HDD (fixed hard disk?) And the optical drive's Plextor display is SATA ODD (SATA interface CD connector) may be the usual concern The first time I saw this difference.

Start with the U disk and enter the pe system. Split the SSD into two zones.
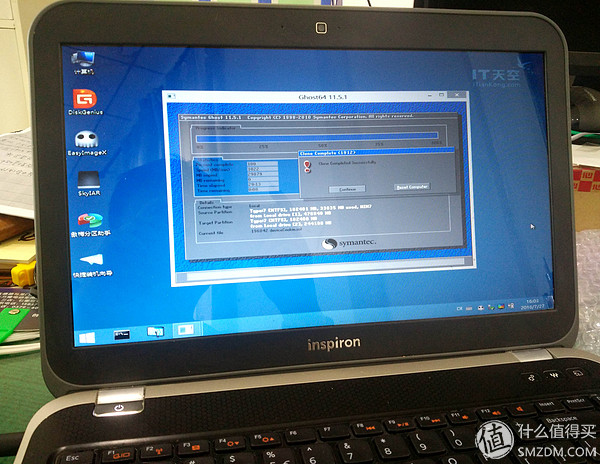
Directly copy the original C drive to the first partition of the SSD and reboot!

Normal boot has identified the SSD, but still boot from the original hard disk

After studying the BIOS for a long time, I didn't find out how to boot from an SSD. Even if it was set to start from the CD, it would have no effect. In the end, we had to use the most stupid way to change the position of the SSD and the original hard drive and mount the original hard drive on the optical drive bracket.

The original hard disk has a total of four screws fixed in the host
Remove it and remove the fixing bracket
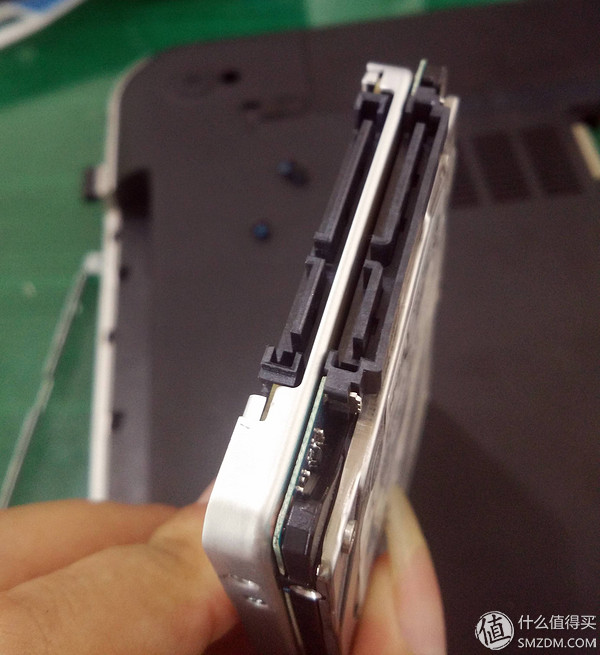
Ssd is the same as the original hard disk thickness
Still with a shell SSD looks nice
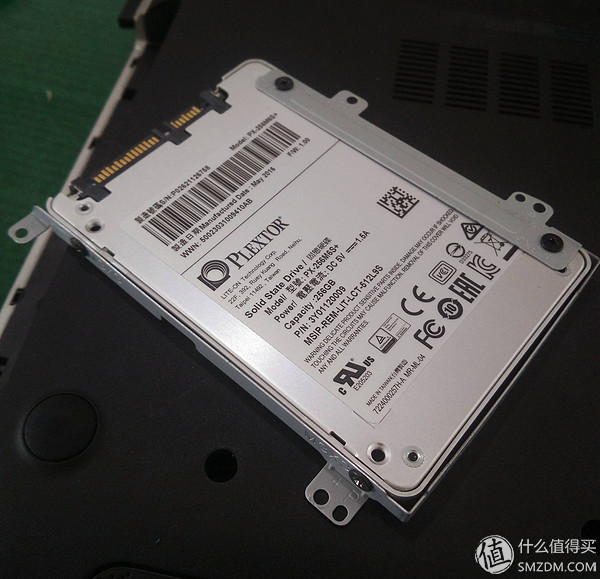
Put on the bracket

Easy to fit into the host
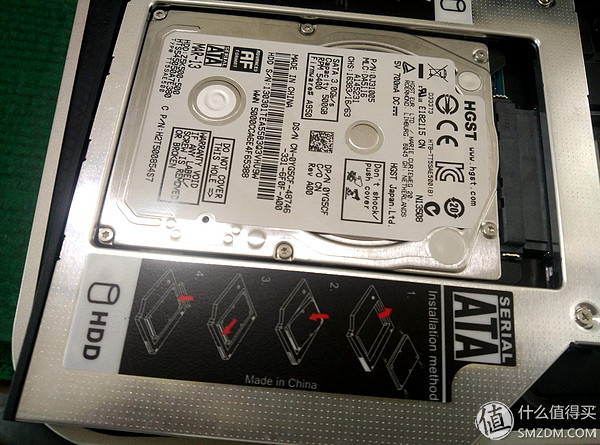
Attach the original hard disk to the optical drive bracket
There are screws fixing the hard disk on both sides of the bracket, just bury it in the bracket after tightening, it will not affect the pull-out of the bracket.
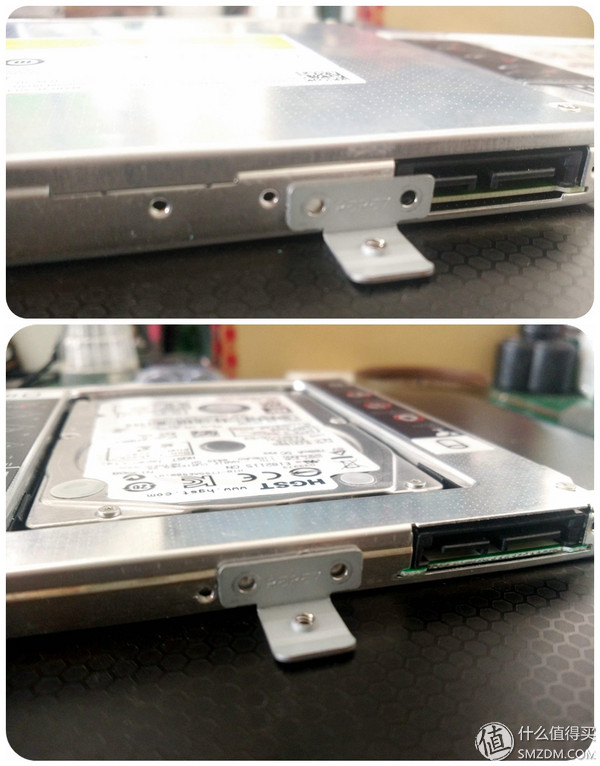
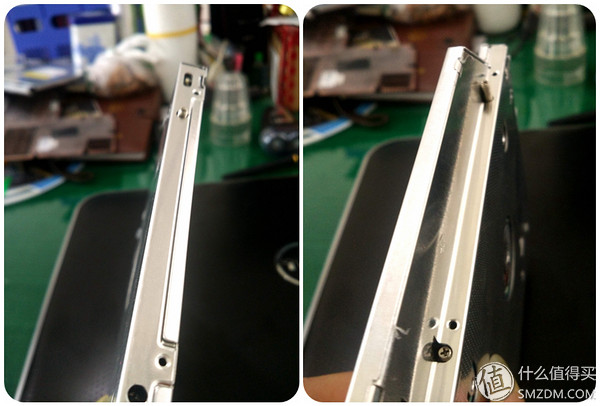
Then found that due to the thickness of the problem, the fixed optical drive bracket is also a problem, the opening height is different, the original optical drive opening in the middle, and the newly purchased optical drive bracket opening is lower, if hard to install it will not live data interface .

Fortunately, the housing of the optical drive bracket is made of aluminum plate. You can make holes by yourself and fix the position directly. Open the hole with a Phillips screwdriver.
Then use a steel rule to compare the horizontal height of the hole.
As for the height difference between the original and the original, the A4 paper is temporarily folded onto the just-prepared thickness stopper. On the one hand, it can temporarily prevent ash, and it can also support the optical drive bracket to prevent it from being tampered with.
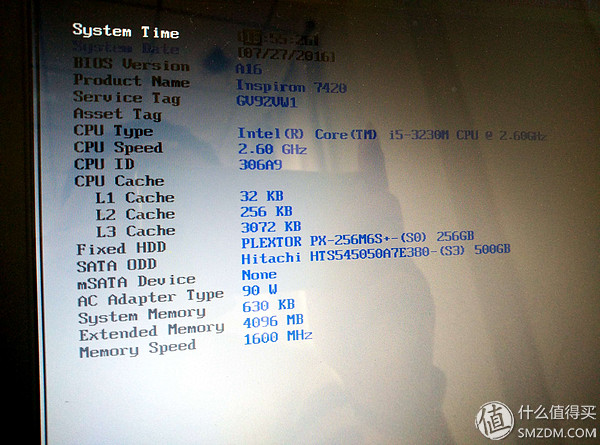
After booting, you can see the situation after you have entered the BIOS. FIXED HDD is Plextor's M6S, and SATA ODD is Hitachi's 500G mechanical hard disk.

Change the boot sequence back to boot from hard disk and save boot.
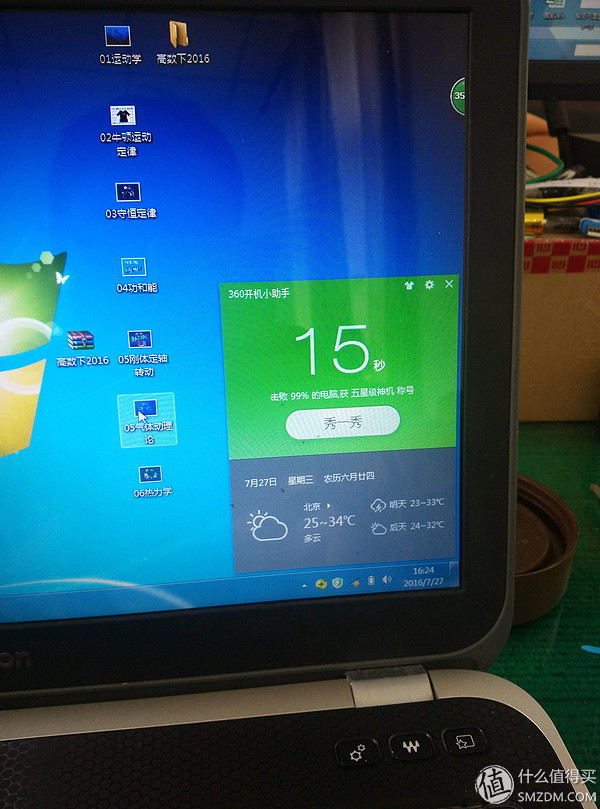
Added SSD speed is not the same, the original boot needs more than 1 minute, now shortened to 15 seconds, the effect is still very good!
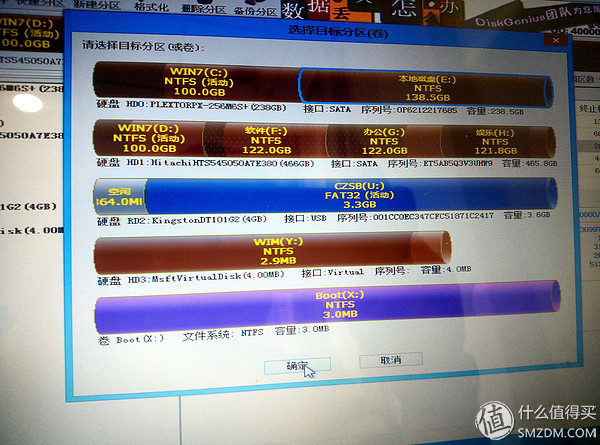
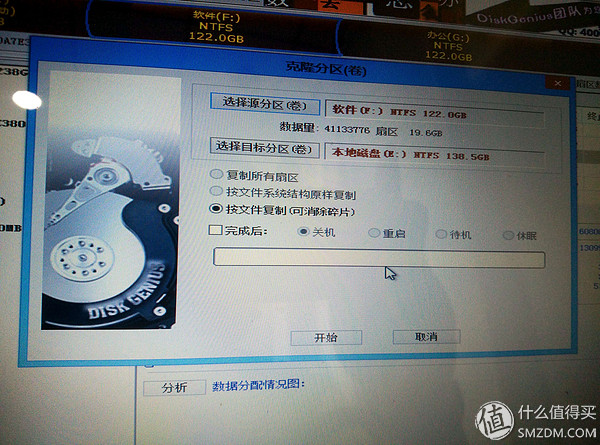
Re-enter the PE system and clone the original D drive (previously software and the like on the D drive!) to the second partition of the SSD.
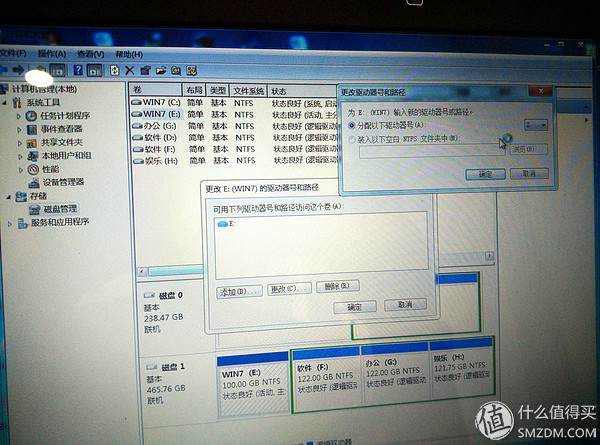

Then enter the system, adjust the drive letter to complete the transfer, the original hard disk on the main partition and the second partition is temporarily not formatted, if the SSD has a problem, can be used in exchange for, etc., can be formatted to stabilize them Let's release the space, OK!
Wrap the pad used to stuff the hard drive with an electrician's black tape, and then stuff it in. It doesn't look that abruptly. For the time being, let's get alive, explain the friend, and take a drive that matches the computer model. When he received his own change, he could. The system no longer toss! This completes an imperfect upgrade.
Therefore, we must use optical drive support to upgrade the SSD, be sure to clear the model of the machine, or directly remove the size of the optical drive to a good size, and ask the boss to buy it again without such a hassle!